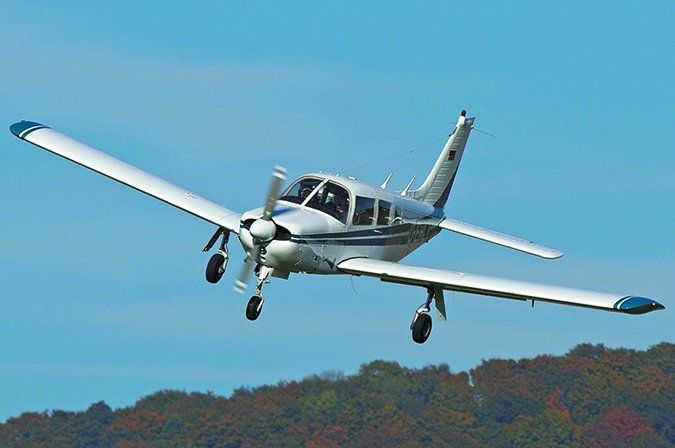
Your mission is complete. It’s time to return to the boat, refuel, get some chow and prepare for the next mission. As you come up the starboard side of the ship just above pattern altitude, the Air Boss clears you for the break. You break hard left, enter the pattern and begin your transition to land. You hit the 180, the 90, roll final, call the ball and continue lining up to land. Just as you land, take the trap and go to full military power, you…wake up. Drat! Another dream!
All of us at one time or another have dreamed of flying some really cool aircraft, and you just did it again. In your dreams, anyway. But you thought that entering that pattern was really something! It is. It has worked well for shipboard flight operations for eight decades. And it can work for you when you fly, no matter if your platform isn’t a multimillion-dollar jet or your runway isn’t doing 35 knots through the ocean.
Why Bother?
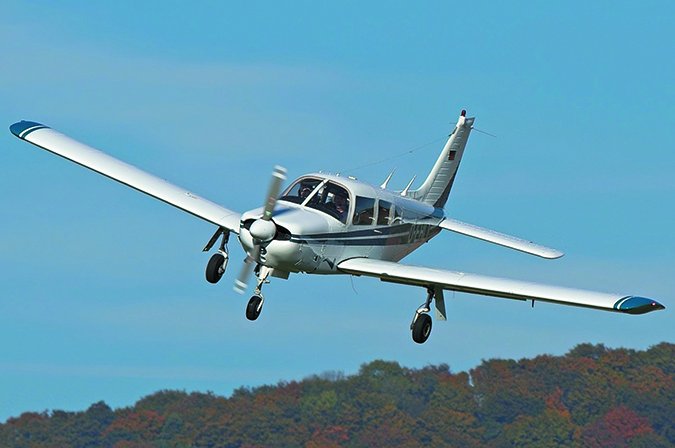
Late last year, the University of North Dakota, in partnership with the AOPA Air Safety Institute, announced a study of the continuous turning approach, or “circular pattern,” as an alternative to the traditional “box” or rectangular traffic pattern. I learned to fly the circular pattern in the U.S. Navy’s flight school over 35 years ago and began teaching it as a primary flight training instructor in Pensacola a few years later. It is still taught there today.
Regardless of the outcome of the UND/AOPA ASI study and whether the continuous turn/circular approach method is recommended for wider implementation throughout the general aviation training community, the procedure is worth considering and practicing, if only to add another skill to your aeronautical toolbox. Let’s explore the circular approach’s characteristics, why it might be a worthy option and how to fly it.
Of course, it’s not new—the U.S. Navy has been teaching and using the circular pattern for decades as a method to safely and consistently land aboard aircraft carriers. It’s a method that uses a relatively constant angle of bank to transition from downwind to final to landing. Instead of two large changes of heading (downwind to base leg, and base leg to final), a constant angle of bank is used, requiring only minor adjustments for crosswinds.
A rectangular pattern, if misjudged, may require high angles of bank, thereby creating the scenario for the low-altitude loss of control accident: low altitude, high angle of bank, low airspeed and uncoordinated turn, followed by an unrecoverable approach-turn stall. With the angle of bank remaining constant, more attention can be paid to airspeed and rate of descent. More on that in a moment.
Another characteristic of the circular pattern is that it’s expeditious. How many times have you been in your local pattern doing touch and goes when some guy in a 172 enters the pattern and begins flying a rectangle big enough for a 747? AAARRGH!! By forcing everyone else to fly a larger, wider pattern, it wastes time, which equals fuel, which equals money. With the circular pattern, you are not that guy.
It also gives you options the rectangular pattern doesn’t offer. If flown correctly, few power adjustments are required to fly this pattern from the abeam position to landing. In the event of a loss of power, you are much more likely to make it to, or at least near, the runway, than your friend in the 747 pattern.
Although the Navy utilizes the overhead break as the preferred pattern-entry method (see the sidebar at right), the circular pattern is not limited to entry via the break. An FAA-standard 45-degree entry to the downwind works just fine. In part, that’s because the circular approach portion commences abeam the intended touchdown point and ends with a full-stop landing, touch-and-go or a wave-off (go-around).
Circular Pattern Procedure
So, how can you make use of the circular pattern? Most of this is a repeat of what you learned to do in flying a rectangular pattern, with just a few adjustments. There is one bit of prep work that needs to be done beforehand, though, and you have probably already done it. If you have not done so recently or are flying an unfamiliar aircraft, I recommend performing a few 30-degree angle of bank (AoB) turns for practice, both level and descending. Why, you ask?
Because 30 degrees AoB is the target angle of bank for this pattern. You need to be comfortable with what this looks like based on external visual cues, without having to glance inside at your attitude indicator. This is the target angle that, if you exceed it to any great degree in the pattern, the approach should be discontinued. By knowing what a 30-degree bank looks like, you will know if you are exceeding it and putting yourself into a situation where you could potentially lose control. Once you’re comfortable with 30-degree banks, it’s time to do this.
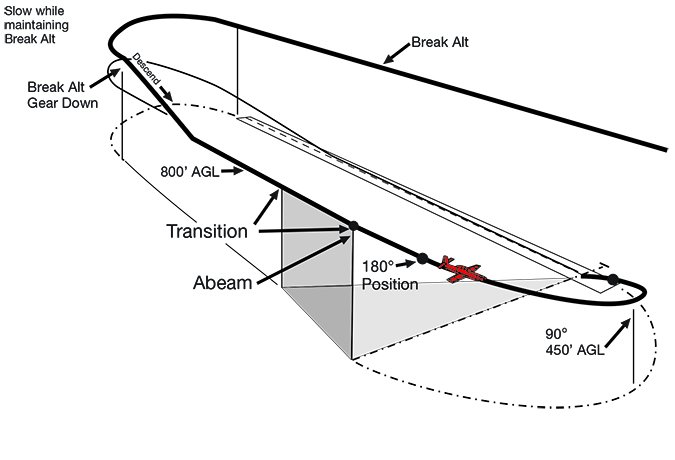
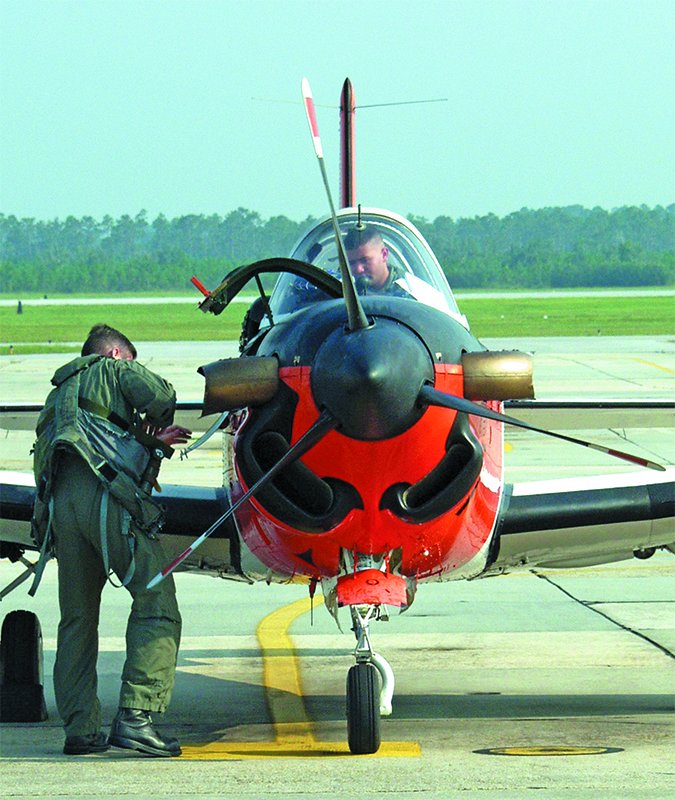
Let’s start by flying downwind at pattern altitude and visualize a relationship between wing position and runway centerline. In Navy flight training, we taught that the downwind was flown at wingtip distance, determined with the outboard aileron hinge of the T-34C Turbo-Mentor bisecting the runway centerline. Downwind was flown at pattern altitude, 100 knots and at that lateral distance. This created a consistent pattern.
You may need to experiment a few times before picking your own wing/strut reference points, or your airplane may not offer any reliable method to regularly establish your distance from the runway. Regardless, if you’re doing it right, I suspect you’ll perceive you’re close in to the runway, perhaps much closer than you are used to flying. How can you tell?
If, on the first approach, you are unable to fly a constant 30-degree AoB turn to cross the 90-degree position on speed and on altitude—for example, it took 45 degrees of bank to make it to the 90-degree position—then you were too close-in on your downwind. On the next pattern, fly further away laterally from the runway and pick a new checkpoint on the wing. Try it several times until you find the lateral distance from the runway that works for you and your airplane. The idea here is to fly a consistent pattern that works anywhere.
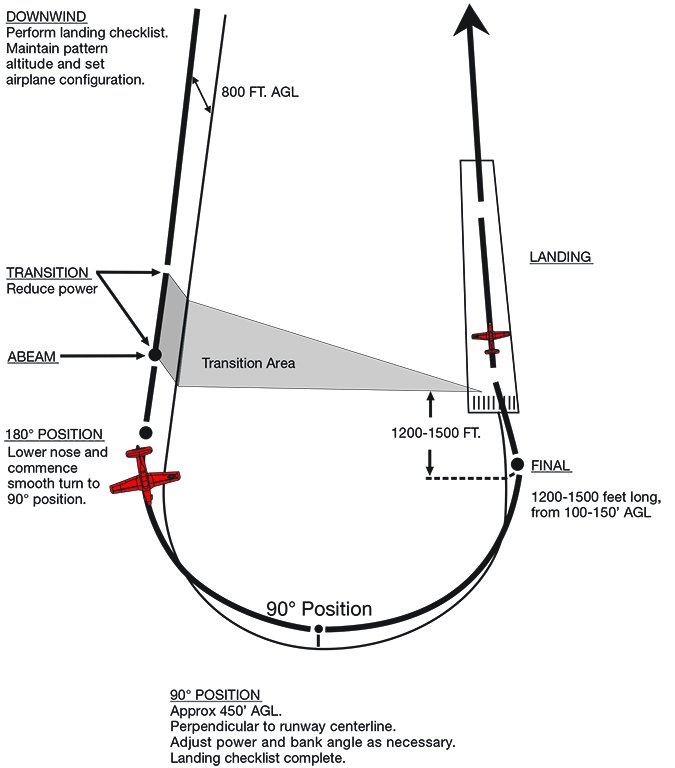
While you’re on downwind, look ahead and below and visualize the final approach segment. I used to tell my students, while on downwind, to look at the runway and use it as a yardstick to select a point on the ground to begin the final segment. What do I mean? If your runway is 3000 feet long, look past the runway’s approach end a distance about one-half the length of the runway, on the centerline. That will be about 1500 feet. Find a landmark there, such as a pond, fence line, road, etc. When you roll out on final, on centerline and cross over that landmark, you are at the final position. You should be 1200-1500 feet from your intended touchdown point. You’ll want to be configured, checklist complete, on-speed and 100-150 feet agl.
Meanwhile, we haven’t begun our turn from downwind to final. At the 180-degree position, begin your descending turn to the 90-degree position. Remember: The goal is to descend and turn at a relatively constant rate, not to exceed 30 degrees AoB. I used to tell my students to pick out something on the ground that made a triangle between the 180, the 90 and final. Much like when you chose a point for final, find a landmark to fly over for the 90.
Maintain 30 degrees AoB as you turn and descend toward the 90-degree point you have chosen. Remember when I suggested practicing some 30-degree AoB turns? Here is where you use it.
In this descending, turning, slowing maneuver, the nose (pitch attitude) controls airspeed while power controls the rate of descent. While flying a constant 30-degree AoB turn, make small adjustments of pitch to establish and maintain the desired speed and use judicious power changes to control the rate of descent. You want to be 450-500 feet agl as you cross the 90-degree landmark you selected.
LOC-I Risk?
This point in the maneuver probably represents the greatest risk of a loss-of-control in-flight (LOC-I) accident. Of course, that’s one of the things we’re trying to prevent, and the UND/AOPA ASI study basically is tasked with trying to determine if the continuous turn/circular pattern type of visual approach can help. The increased LOC-I risk in a circular pattern results when the pilot raises the airplane’s nose to adjust the rate of descent, which exceeds the 30-degree AoB we’ve agreed is both desired and maximum, and then does nothing with the power. All of which is a recipe for an approach-turn stall.
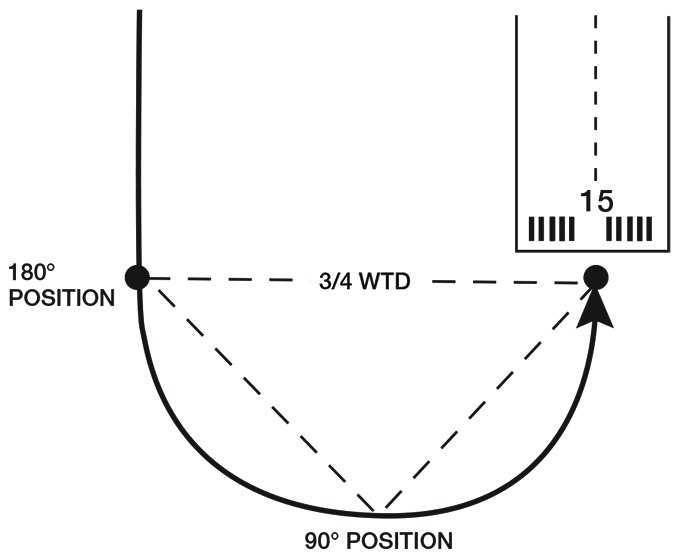
To minimize this risk, remember which control does what: Use pitch to adjust speed and power for altitude. If we maintain the 30-degree AoB prescribed, one of two things will happen as you descend and fly to the final position you chose earlier. If your downwind was the right distance from the runway, you’ll likely roll out on final over that landmark you chose earlier, at 100-150 feet agl and 1200-1500 feet from your landing point. Land.
If you’re not aligned with the runway centerline and it will require greater than 30 degrees AoB to correct, go around. Modify your downwind on the next approach.
That’s it. It’s similar to the rectangular pattern you’ve always flown, but with subtle differences. Downwind is probably a little closer in than you are used to. Landmarks on the ground are used to gauge your performance. And a safety standard is set. If it takes much more than 30 degrees AoB to fly the pattern, you need to go around.
I encourage you to go out and try this approach. Adjust it as necessary to fit your aircraft’s performance. You may see the value in flying this type of pattern, as did the U.S. Navy so many years ago.
Terry Hand is a former U.S. Marine Corps helicopter and instructor pilot. His current day job for a major airline requires a type rating in the Boeing 757/767.

