No matter how you slice it, aircraft ownership is expensive. Required inspections, airworthiness directive compliance and just regular replacement of wear items can gang up on us to make the total cost of ownership a somewhat breathtaking experience. There are almost as many ways to manage these expenses as there are people flying, but one of the consistent recommendations for any pilot/owner looking to reduce costs is to do many rather mundane tasks yourself.
The FAA’s FAR 43.3 says “the holder of a pilot certificate [other than a sport pilot certificate] issued under Part 61 may perform preventive maintenance on any aircraft owned or operated by that pilot which is not used under Part 121, 129, or 135….” Appendix A of FAR 43, meanwhile, details what tasks are considered “preventive maintenance.” Everything we’re suggesting in this article flows from Part 43’s definition of what constitutes preventive maintenance (PM). If you’re not afraid of getting some grease under your fingers, you can save a lot of time and money performing regular maintenance tasks yourself. Here are our top five projects you may consider performing.
1. Landing Gear and Brakes

Whether your airplane is retractable, fixed, tricycle or taildragger, there are a lot of PM tasks an owner can perform on it, including changing tires, replenishing air and hydraulic fluid in the struts, changing tires and tubes, and relining brakes. Short of adding air to the tires, however, working on the landing gear usually requires some kind of jack or other method to either get the wheels off the hangar floor or at least remove weight from the struts when adding air or hydraulic fluid. Even adding air to the tires may require removing tight-fitting wheel pants.
Replacing tires and tubes or brake linings isn’t rocket science, and there is no shortage of guidance and reference materials out there to help you through the tasks. Some of them-like bleeding brake lines-may require an assistant, however. And while many PM tasks can easily be accomplished with the subject airplane parked outside, jacking up an airplane is best done in a closed hangar with a flat floor so that wind gusts or taxiing airplanes don’t blow it off the jacks.
Servicing brake systems and landing gear struts may require replenishing their working fluid, which typically complies with military specification MIL-H-5606. Like engine oil filters or engine oil itself, you likely won’t find “5606” at your local auto parts or big box store. Instead, it’s available from the usual suspects, perhaps including your FBO.
2. Interior
Appendix A specifically mentions the “decorative coating of…cabin, or cockpit interior when removal or disassembly of any primary structure or operating system is not required.” The same basic language applies to “upholstery and decorative furnishings of the cabin, cockpit, or balloon basket interior.” That’s a permission slip that can save you thousands of dollars in labor.
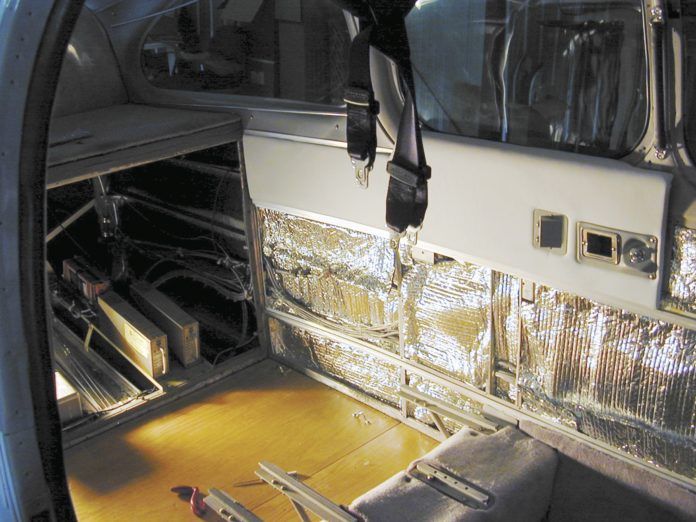
Depending on the aircraft, upholstered overhead and side panels are relatively easy to remove and refinish, and don’t involve any primary structures. The project can be as simple as repainting worn plastic bits or as involved as ripping out everything including the insulation under the floorboards for new. Yes, you also legally can replace your airplane’s soiled carpet.
But this can be a big task, and not all of us have the skills to make the end result look as professional as we may want. The good news is you can remove the interior panels and reinstall them after someone else does the detail work. A good time to tackle such a project is when the aircraft is opened up for its annual inspection, since much of a typical aircraft’s interior needs to come out anyway.
Removing an aircraft’s interior also affords us a good, close look at what’s in the sidewalls and under the floorboards. You can use the opportunity to check the overall condition of any wiring, pitot-static plumbing or other systems. Removing interior panels may expose the primary flight control cables. The only thing you can/should do is examine them for corrosion and wear, and carefully-generally, you want to keep lubricants and chemicals away from the cables themselves-lubricate their pulleys.
3. Oil and filter Changes
Perhaps the easiest and most common PM task performed by pilots is changing engine oil. Curiously, oil changes are not specifically mentioned in FAR 43’s Appendix A, but oil filters, chip detectors-commonly incorporated into oil sump drain plugs-and “lubrication” generally are. Oil changes are a commonly accepted PM task pilot/owners may perform.
Presuming the engine itself is readily accessible, this can be a relatively easy, quick task. Complications arise when, for example, numerous fasteners must be removed or the cowling itself requires at least two persons to unmount it.
You’ll need the appropriate filter and any specific tool required to remove it. You’ll also need some method to catch the oil you drain from the engine. This usually involves a hose between the oil pan drain plug and a bucket or other container. The sidebar on page 13 highlights specialized tools like safety-wire pliers and an oil filter cutter.
Certain internal engine components consist of specific alloys, and several companies provide spectrographic analysis of used engine oil, which can contain microscopic bits of those metals. By identifying the composition of any suspended particles, operators can determine which parts of an engine produced them, highlighting abnormal wear and alerting us to needed maintenance. Oil analysis works best when it’s conducted over time, so successive reports can be compared and any trends identified.
While the engine is opened up and its oil is draining is a good time to give it an overall inspection. You’re looking for oil leaks, cracks, fuel stains and other abnormalities. If you find something, you probably should consult with a mechanic to determine if further action is needed.
4. Corrosion Proofing
As the overall general aviation fleet continues to age, preventive maintenance takes on greater importance. Controlling for-identifying and correcting-corrosion is a big part of keeping older aircraft in the air and performing as they were designed. So it shouldn’t come as a surprise that Appendix A specifically allows applying “preservative or protective material…where such coating is not prohibited or is not contrary to good practices.” As with the interior, “disassembly of any primary structure or operating system” is not allowed. Elsewhere in Appendix A, removing and replacing “cover plates, cowlings, and fairings” is specifically mentioned as PM when lubricating the aircraft.
These permissions allow pilots to perform the popular task of using a misting gun to apply an appropriate substance throughout the airframe as a corrosion preventative. Products like Corrosion X and Boeshield are specifically designed for controlling aircraft corrosion and may be applied by the pilot as PM.
You can remove inspection covers and fairings-e.g., tailcones-to gain access and use an air compressor with a misting wand to apply the material. Misting is recommended since it’s a relatively simple way to get as much of the corrosion-proofing material into tight nooks and crannies like the seams between two sheet-metal components. Use care to avoid saturating components like control cables, autopilot servos and avionics, perhaps by covering them before the misting operation.
5. Lighting and Electrical
Anyone who’s replaced an automotive taillight bulb can easily perform the allowed electrical work, which is confined to troubleshooting and repairing landing light wiring, and replacing bulbs, reflectors, and lenses of position and landing lights.” This would include replacing incandescent bulbs with more energy-efficient LEDs, presuming the LED assembly itself is approved for aircraft. This also includes finding and replacing defective wiring and/or connectors. To do this correctly, you’ll likely need a crimping tool plus good-quality components like ring terminals. Replace any defective wiring with wire of at least the same diameter, type and material.
For example, if the landing light circuit uses 20-gauge wire, don’t substitute smaller-diameter 28-gauge, which likely won’t be rated for the amperage. If you’re uncertain of the correct-size wire, consult the FAA’s maintenance “bible”: Advisory Circular AC 43-13, “Acceptable Methods, Techniques, And Practices-Aircraft Inspection And Repair,” now in version 43-13-1B.
Caveats
If you’re not comfortable with hand tools, many PM tasks may not be for you. It’s always a good idea to consult your mechanic for assistance, insights or suggestions before tackling any project, at least the first time. Ideally, you have a hangar, or can borrow some space in one, which will keep you and the airplane out of the weather and ensure a secure working area.
Working on your aircraft may not be in some pilot’s comfort zones, while others may need to exercise some restraint to conform to Appendix A. Our suggestion is to not tackle any projects you don’t understand or have the tools for. Always refer to the approved data when there are questions, and don’t be afraid to ask for help. Finally, don’t forget to record your work with an appropriate logbook entry.
Special Tools And Supplies You May Need
You probably already have many of the tools you need to perform the tasks allowed as preventive maintenance. Screwdrivers, hand wrenches, ratchets and sockets, and pliers can be found in the toolkit of almost anyone who has a car, a lawn mower or even a recent Ikea catalog. There are some specialized tools you may need, however, plus some items that fall into the “nice-to-have” category.
Safety-Wire Pliers
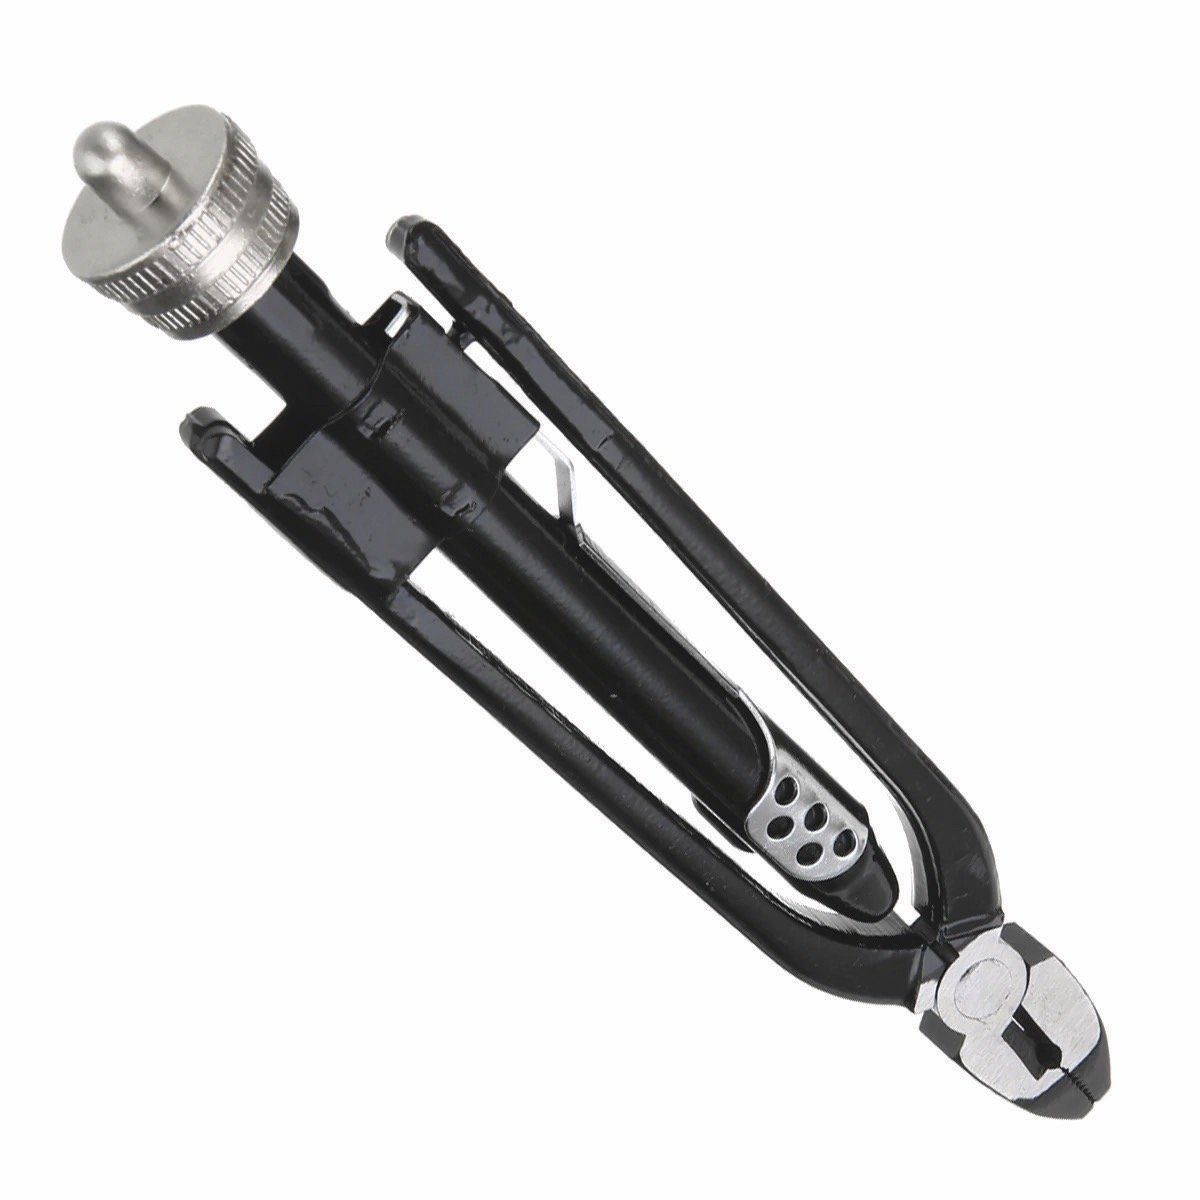
Even if you don’t do your own oil changes and need to reinstall the filter’s safety wiring, these locking pliers can come in handy for other tasks around the house, hangar or workshop. A decent pair can be found for around $15. Practice learning to use them before safetying anything important.
Air Compressor
Compressed air is a standard metric of a well-equipped hangar: How will you replenish the air in your tires-much less replace the tires/tubes-without one? It doesn’t have to be a fancy unit-a $150 investment can be a good choice-but you may need more hose than it comes with, plus various accessories like a tire chuck and fittings.
Jacks
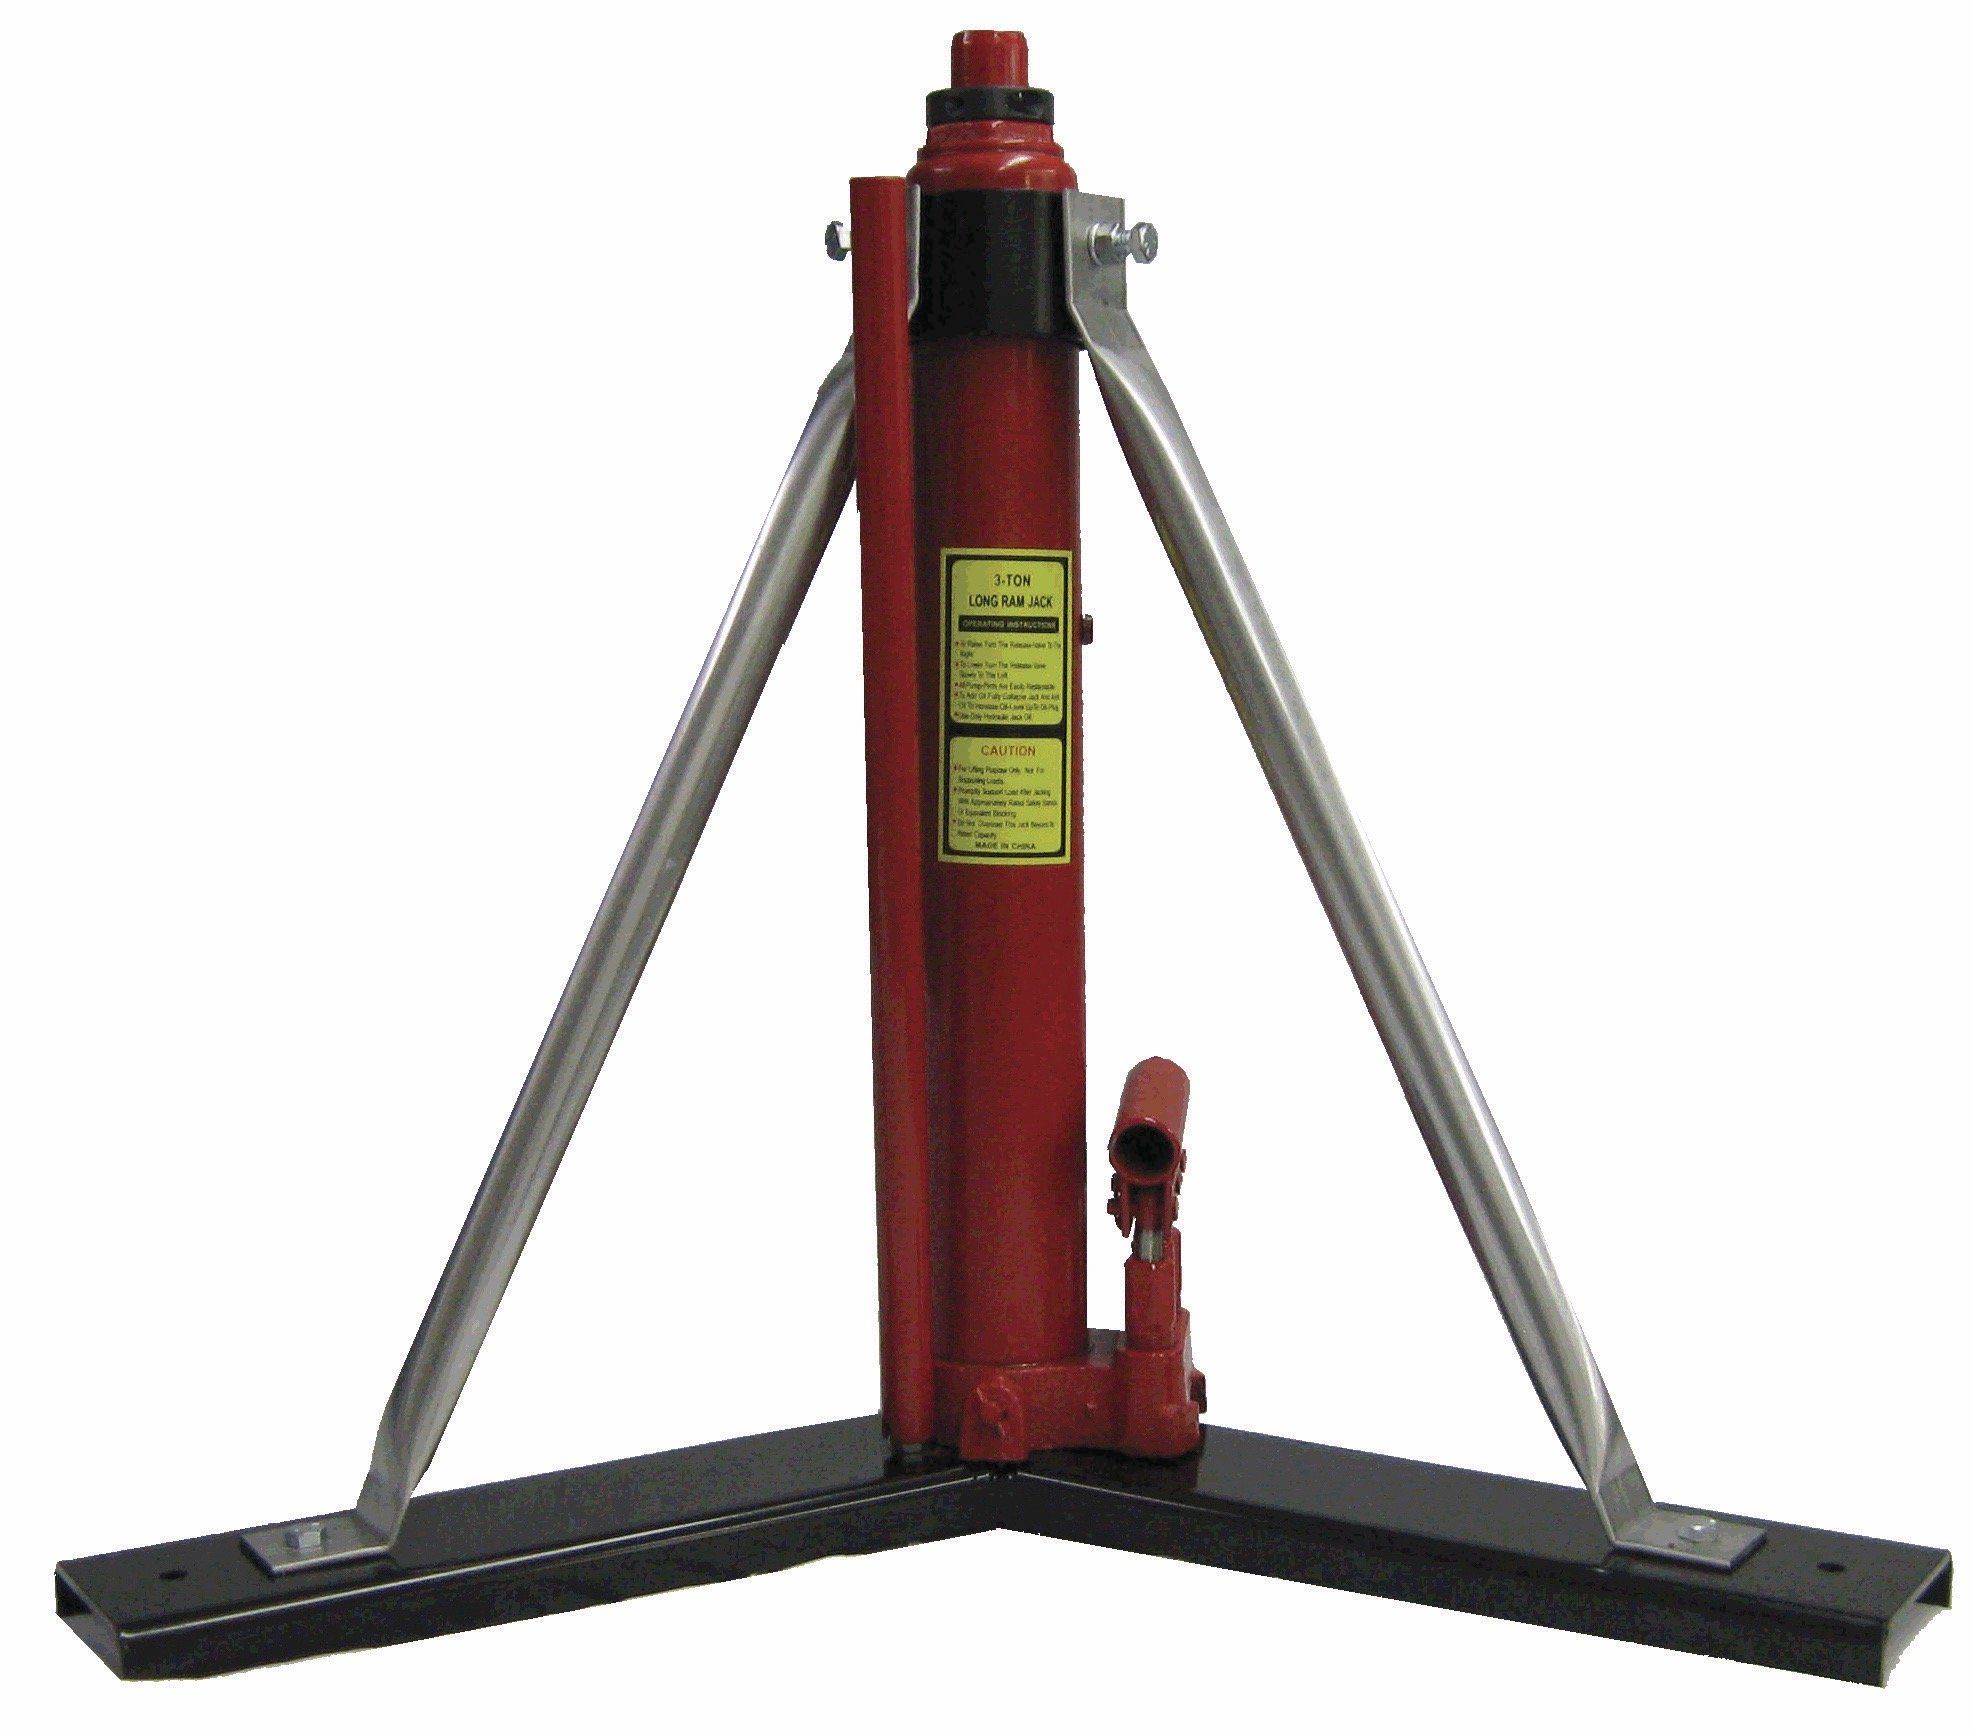
If you plan to change your tires or perform other wheel-related maintenance, you may need a suitable set of jacks. They’ll also be handy if your IA comes to your hangar for an owner-assisted annual. In addition to the jacks, you may also need some ballast at the tail to keep the nosewheel off the hangar floor.
Safety Wire, Filters, etc.
By safetying a bolt or an oil filter, we’re creating an extra layer of protection against the component unthreading itself. It comes in various sizes, but 0.032-inch stainless steel safety wire is an all-purpose commodity around the hangar. It’s typically sold as a one-pound spool. Don’t forget items like oil and air filters, plus the smaller ones used on your vacuum/pressure system.
Filter Cutter
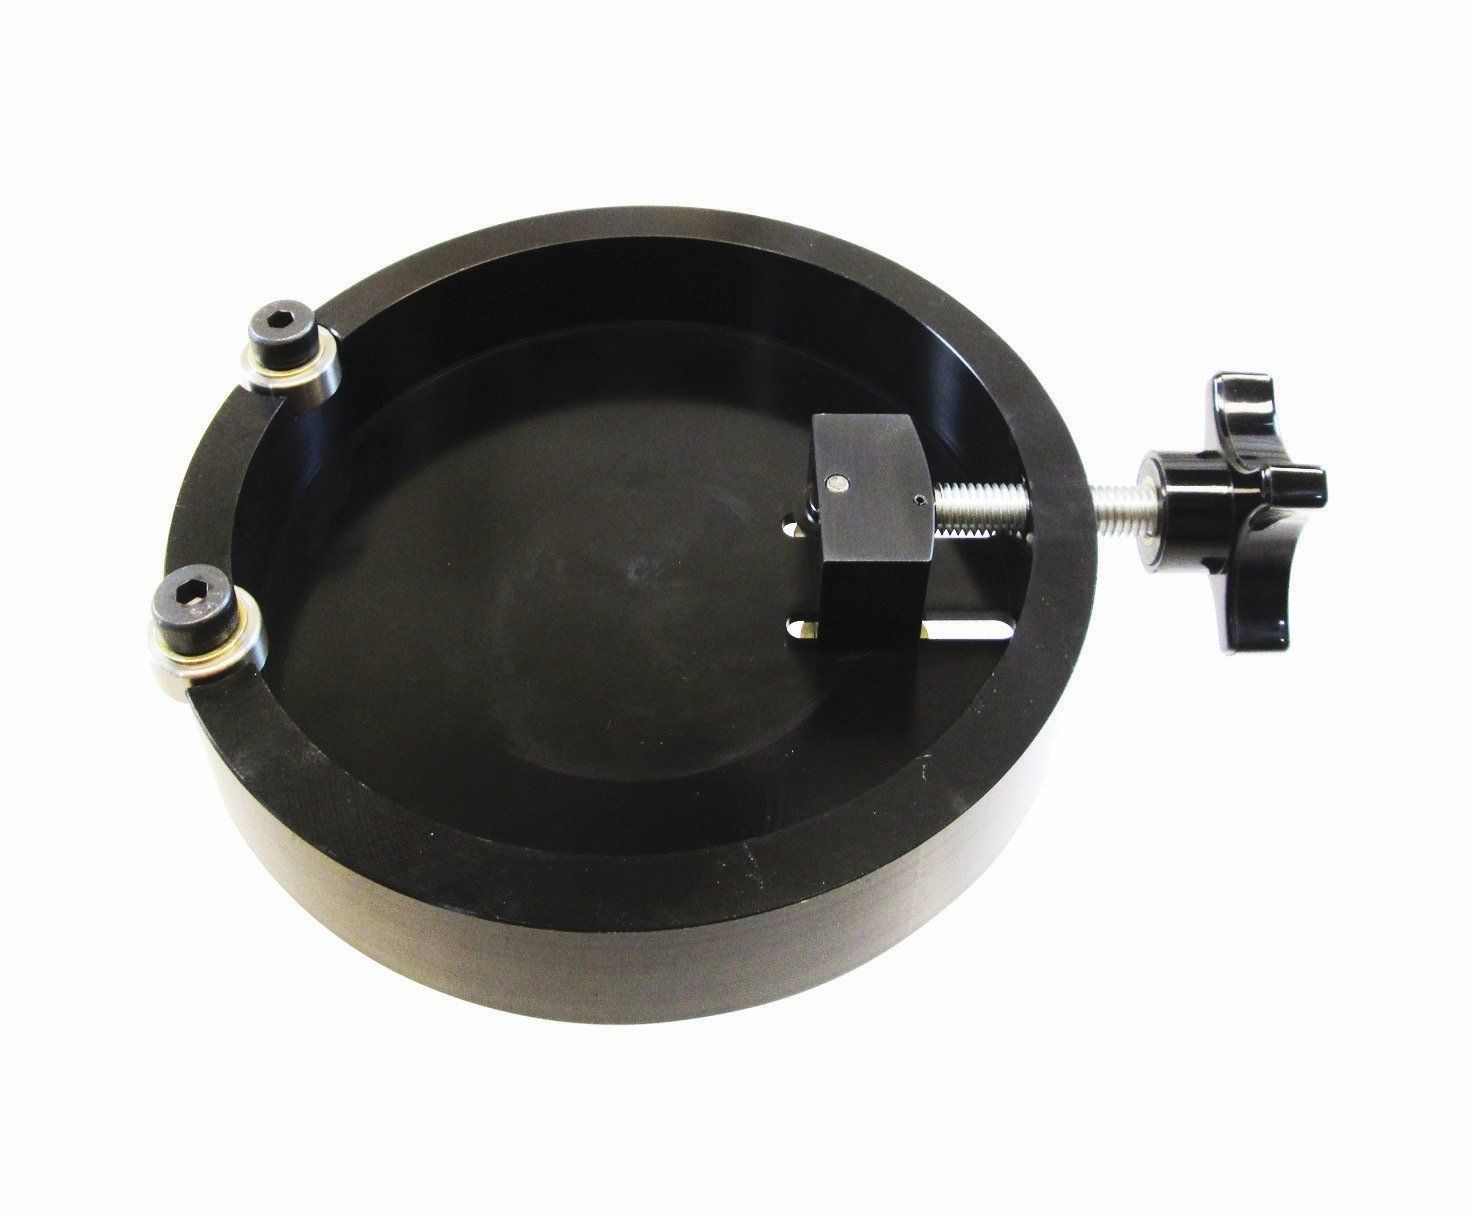
After you change the engine oil and filter, it’s always a good idea to cut open the filter for inspection. This can be a slippery task, one that’s made easier by using a purpose-built device designed to cut off the filter’s bottom mounting plate, allowing the filter material itself to be removed and its pleats explored for shiny metal bits. If you find any, consult your mechanic.
Gaining Access
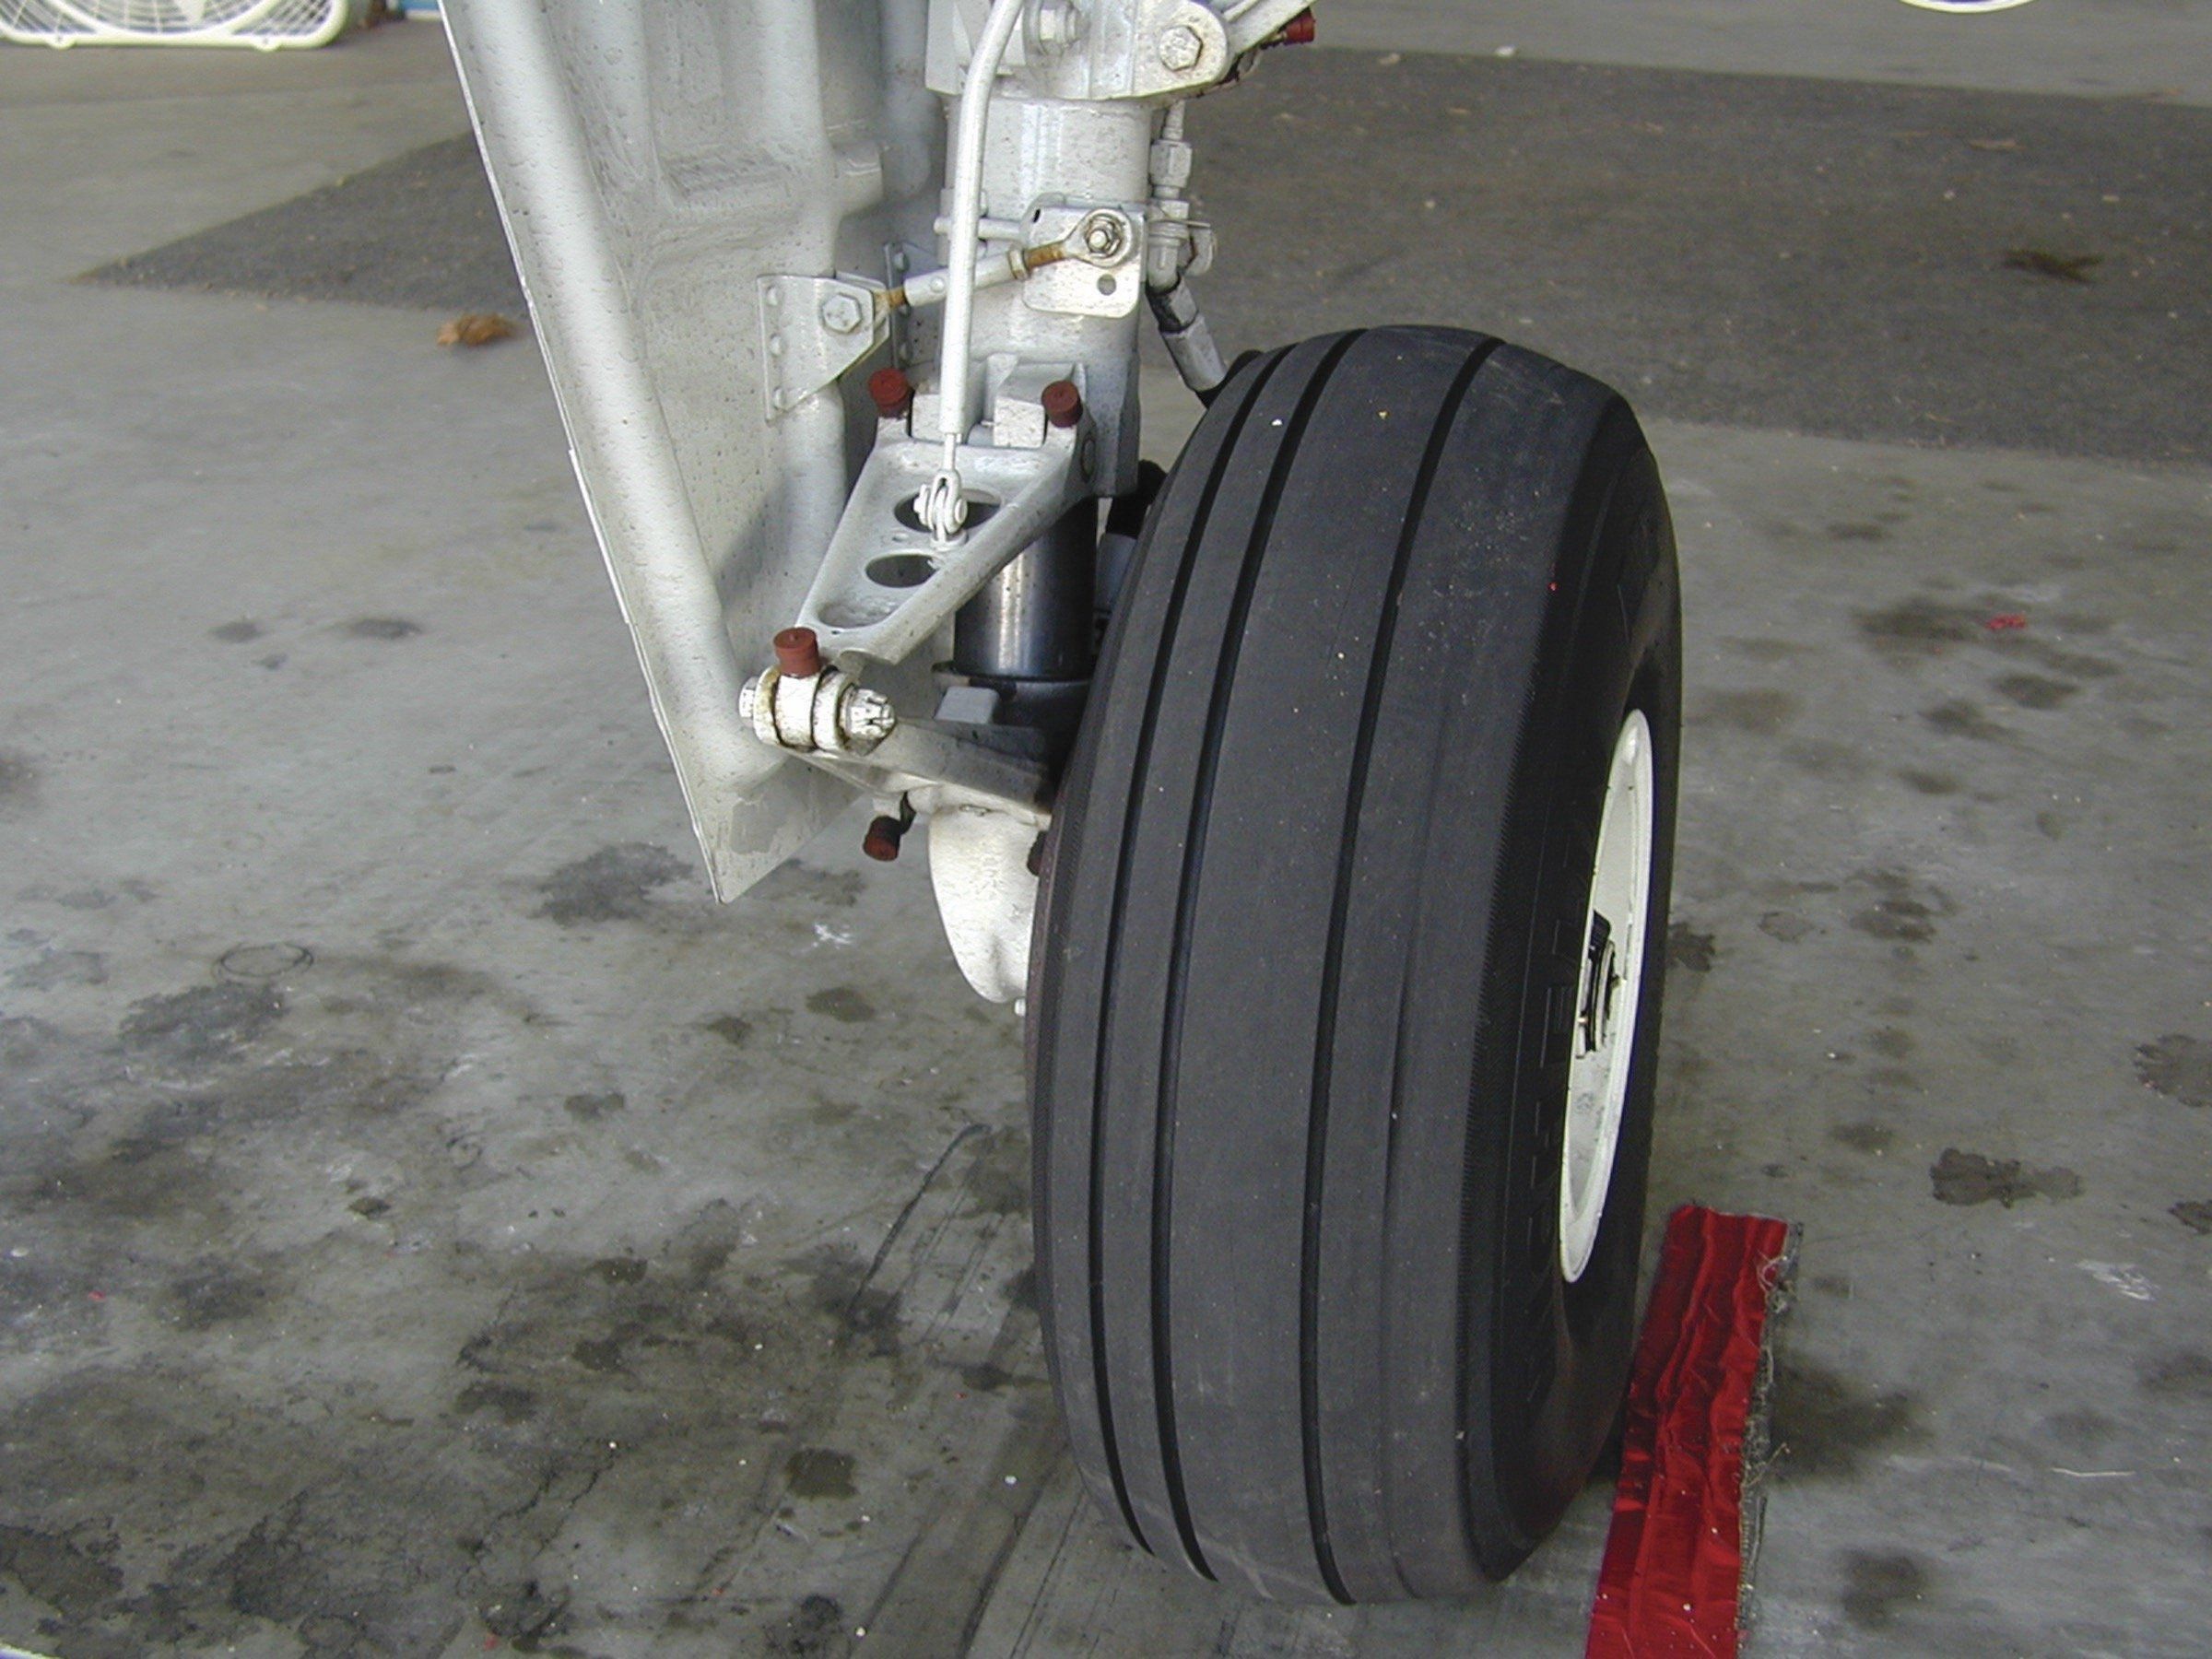
In part because it’s usually easy to get to, landing gear lends itself to PM tasks. At top right, this Bonanza’s main gear tire looks worn and is ready for replacement. Wiping down the strut and lubricating a retractable’s landing gear pivot points with a grease gun are tasks pilots are allowed to perform on their own aircraft, along with changing the worn tire.
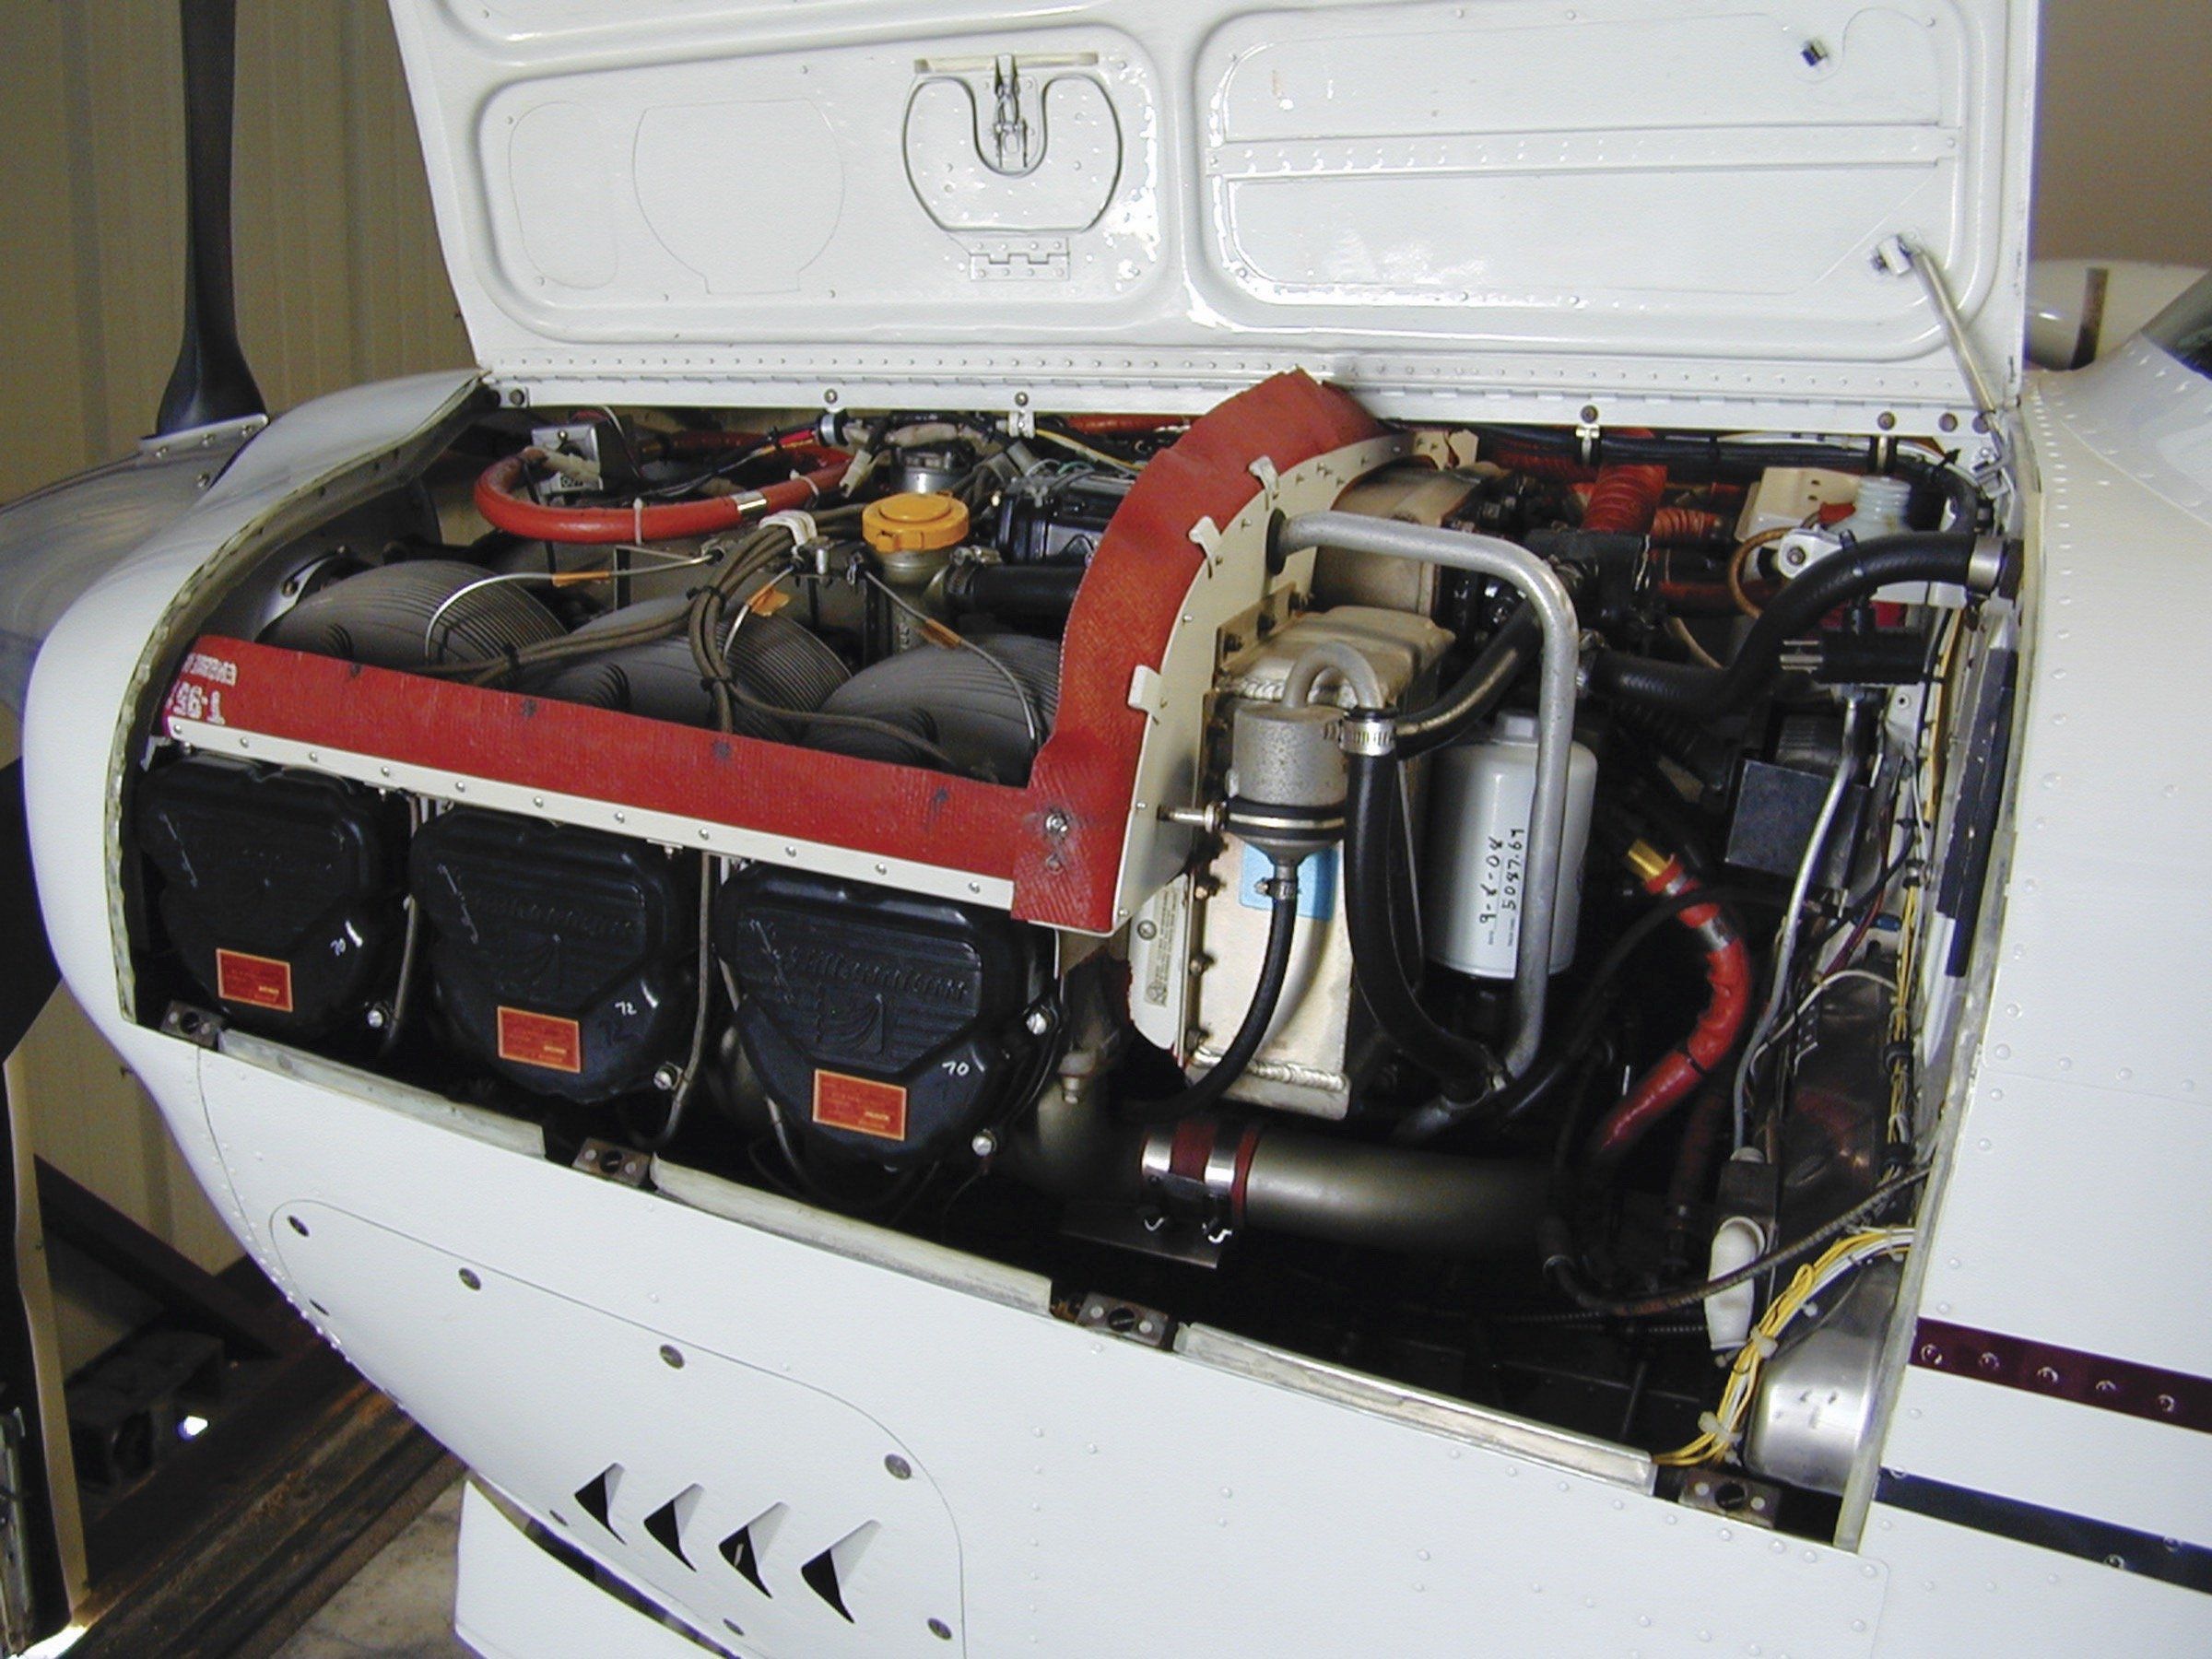
At bottom, any time an engine cowling is opened up or removed is a good opportunity for a close inspection. Obvious discrepancies like fluid leaks should be investigated, perhaps by a professional. Look for chafing wires and hoses as well as loose components like clamps and accessories. Check safety wiring for security. Exhaust leaks will show up as discoloration where the various components are slip-fit and clamped or bolted together with fittings. Many tasks under the cowling can require special tools, like a spark plug socket and/or a torque wrench.
Got Data?
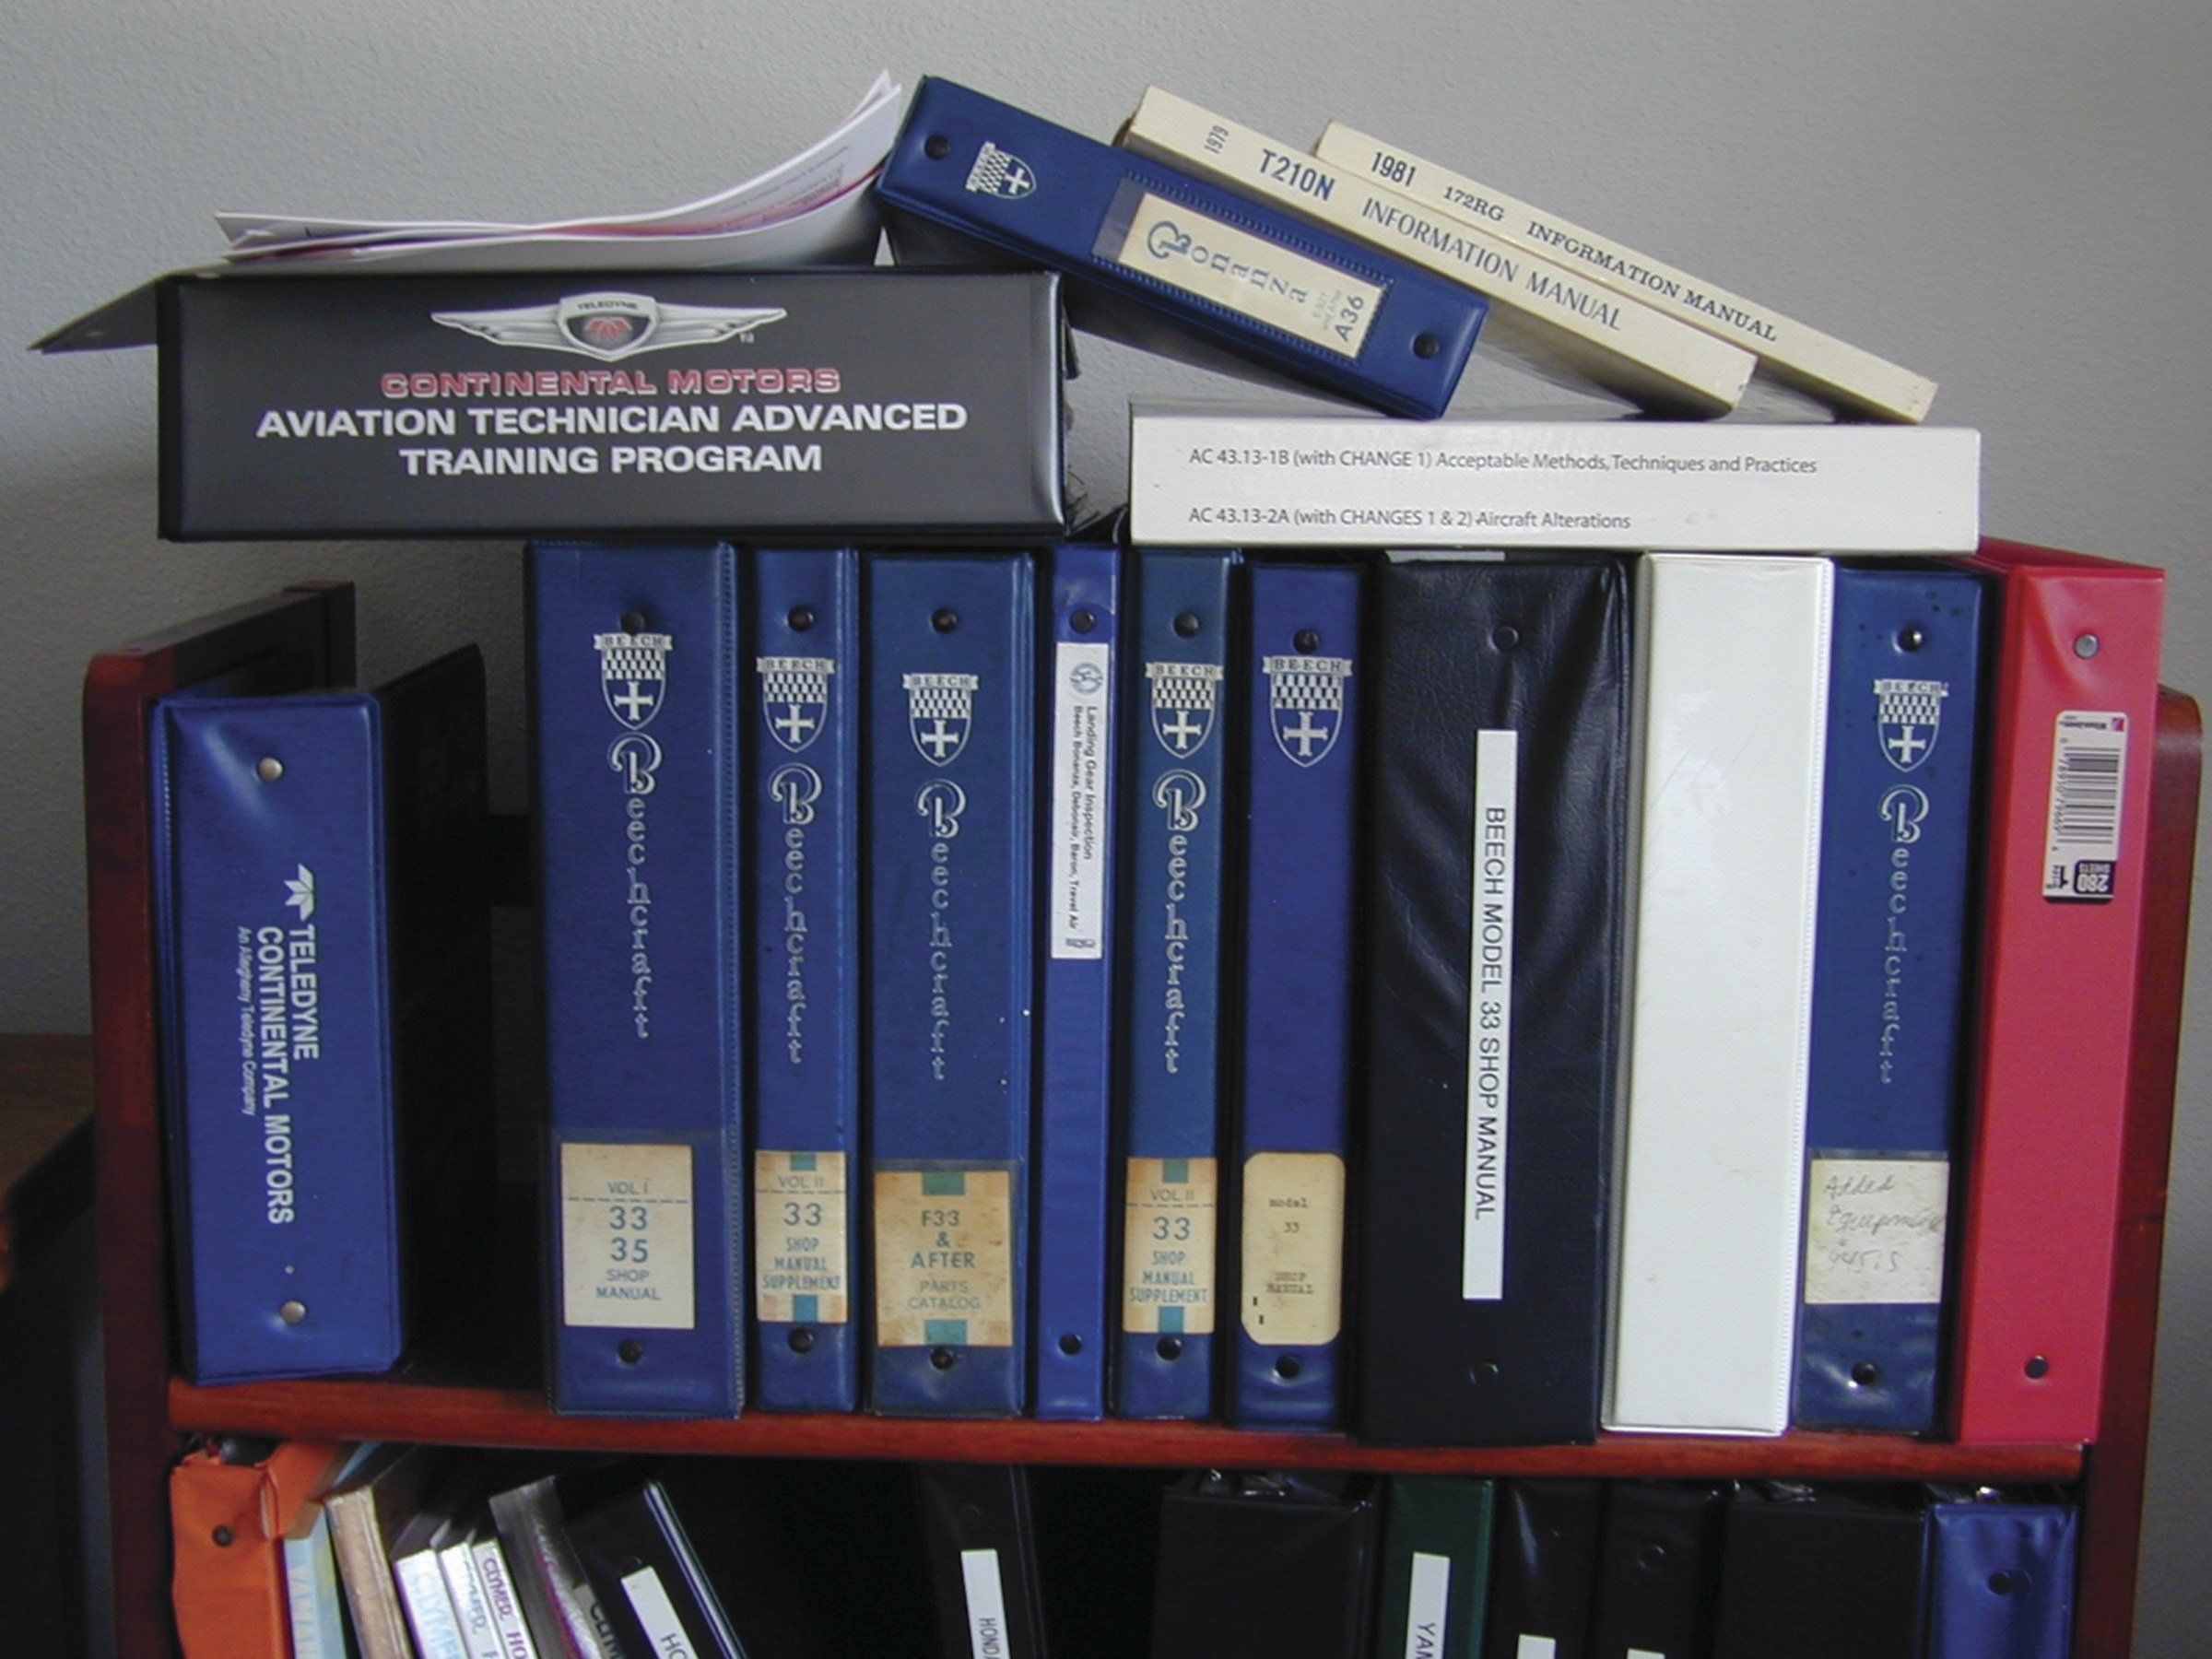
To properly perform any of the PM tasks in FAR 43’s Appendix A, you need the right tools and a place to work. You also may need the appropriate reference materials to ensure the task is performed correctly. In those materials-often referred to by the FAA as approved data-you’ll find answers to basic questions like tire pressures and torque values, but also details like specific part numbers to be replaced and the procedures necessary to perform the replacement.
“Approved data” can take many forms. The tire size and pressure information found in a POH meets the test, as do specifications for generic items like oil filters or light bulbs. You also may need the manufacturer’s maintenance manual and illustrated parts catalog, plus any supplements.

