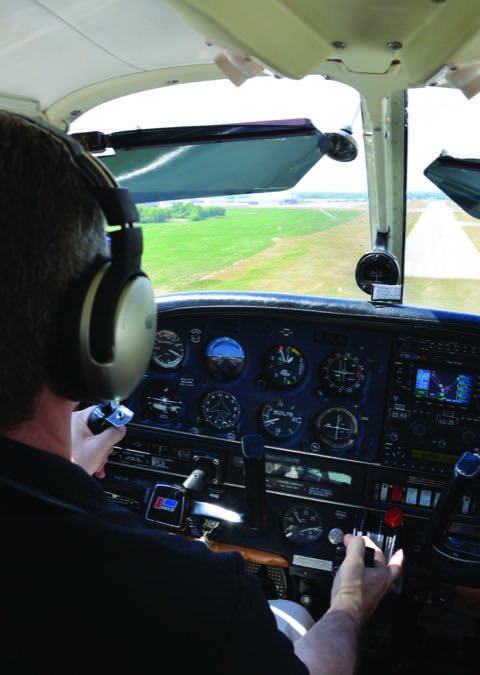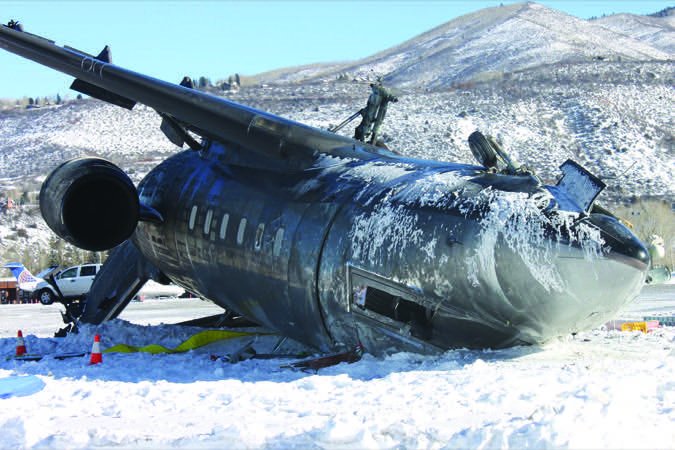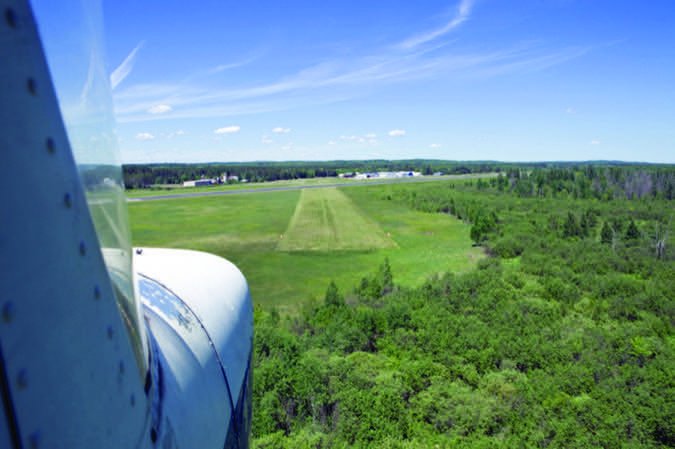
As a pilot who spent the majority of his time landing on the kind of runways described by Mike Hart in his article, “Off The Beaten Path,” in June 2015’s issue of Aviation Safety, I will testify to the fun of landing at such places. Most pilots will spend their time on surfaces free of undulations, slope and aircraft damaging debris, so it was good to be reminded of how the surface interacts with my flying.
The article also reminded me of another factor pilots will face the first time they fly to such runways. Since they require precision during the approach phase to ensure the aircraft touches down in the correct spot to safely stop on surfaces that are usually shorter, narrower and quite possibly more slippery, a stabilized approach is a must.
Where To Begin?
The stabilized approach has been discussed quite a bit over the last few years. The typical article will drive home the need for precise airspeed and descent control using the proper configuration and power settings. But something often lacking in such discussions is a recommendation of equal precision on where the approach should start. “Begin your final approach about a half mile from the threshold…” isn’t accurate enough.
One shouldn’t ask for precision in speed and descent rate but casually consider where the approach should begin. Simple geometry tells us the height and distance from the desired touchdown point are critical to establishing and maintaining a stabilized approach. In fact, it’s easier to see the dilemma when the different elements of a stabilized approach are represented as a triangle, as depicted in the sidebar on the opposite page.
The upright leg represents your altitude above the runway, which is related to your descent rate. Divide this altitude by a specific descent rate in feet per minute and the result is the time it will take. The horizontal leg is the distance you’ll travel at a specific groundspeed while descending. The dotted line is the glidepath to your aiming point on the runway.
Breaking that down, let’s say you turn final at 500 feet above the runway. If your desired descent rate is 500 fpm, the math is easy: It’ll take one minute to descend from your starting point to the runway. If you’re flying an airplane doing 60 knots over the ground, you’re covering a single nautical mile each minute. Conveniently, the same minute you spend descending at 500 fpm also transports you the remainder of the distance to the runway.
Put another way, if you want to descend at 500 fpm starting at 500 feet agl while flying at 60 knots over the ground, your approach should begin a nautical mile—6078 feet— from your aiming/touchdown point. This will give you the constant angle and smooth glidepath that everyone speaks of when discussing a stabilized approach.
Attempting a stabilized approach without considering the point where the distance and altitude above the desired point on the runway will guarantee that the numbers you have chosen for groundspeed and descent rate will not work to produce the desired constant angle to the runway. Instead, there will be a time where the approach is not stabilized until the glidepath is recaptured by changing groundspeed and/or descent rate. Once the airplane is reestablished on the desired glidepath, yet another change in descent rate and/or groundspeed is required to maintain it.
It all may sound complicated, but it’s not. Pilots have been performing these calculations since the Wright Brothers. And they’re baked into instrument procedures like the ILS or RNAV-based LPV approach.
Different Airports
Consider this scenario. A pilot’s entire training has been accomplished at a sea-level airport. The pilot has been taught that the aircraft is to be flown at precisely 60 KIAS and with a 500-fpm descent. Over time, the pilot learns that if the aircraft is placed at the same altitude over a spot on the nearby beach, then the approach will practically fly itself. With that consistency, the pilot also develops the ability to see this position in space by referencing perceived height above the ground and distance from the runway along, with the actual shape of the runway when at that sweet spot of the approach.
In other words, this pilot has learned how to apply the math mentioned earlier to an actual landing and has trained his or her brain to perceive when the aircraft is in the slot it needs to be in for the approach to work out precisely. This is something that we have all done for our home airport. It is a good thing, but there can be problems when all of this particular knowledge is applied to a different location.
One day, this pilot decides to take this knowledge out for a spin at another runway, the one at the Warren USFS Airport (3U1), Warren, Idaho, mentioned in Mike’s article. Let’s presume for the moment that our hero pilot is not confused by the hills surrounding the runway at Warren and does not fall prey to the optical illusions they provide.
As such, the pilot successfully places the aircraft exactly 500 feet above the runway and precisely one nautical mile/6078 feet from the desired aiming point on the runway. But even though he’s flying the right numbers (60 KIAS/500 fpm), things aren’t progressing the way they do back home. Instead of the runway aiming point remaining in the same place in the windscreen the way it did back home, the pilot sees it slide lower.
Perceiving the airplane to be high on the approach, the pilot reduces power and recaptures the glidepath, then resumes the familiar routine. But the aiming spot begins to slide down the windscreen once again. Instead of flying that perfect approach to touchdown that was so easy back on the coast, our hero touches down beyond the intended zone with a hefty thump because of the excessive descent rate gathered trying to capture the approach.
Why Are Stabilized Approaches Important?

According to the FAA, a stabilized approach is “one in which the pilot establishes and maintains a constant angle glidepath towards a predetermined point on the landing runway.” Why is that important? Here are just a few reasons:
• Reduced workload. If we do every approach the same way each time, we’ll have more time and bandwidth to accomplish other tasks important to safely flying the approach and landing.
• Slows the airplane. Flying a stabilized approach requires decelerating relatively early and establishing the correct configuration well before reaching the runway.
• Detect changing winds. Wind velocity often changes as we descend to a runway, and a stabilized approach allows us more time to observe the changes and react to them.
Stabilizing Your Approach

It doesn’t matter where you begin or how fast you descend if you can’t fly the final smoothly and recognize when corrective actions are necessary. Some tips for personal airplanes:
– Always be mentally prepared to abandon an approach you’re not happy with. The runway will be there when you come back for another.
– Don’t chase the airspeed. Try to keep it within five knots above and zero below your target. If you can do this, you’re halfway there.
– After the proper configuration is set—including pitch trim—and once descending at the target airspeed, use power to control the rate of descent.
Altitude’s Effect
How could this happen? The pilot did everything exactly the same as when at home plate—same IAS, same descent rate, same altitude above the ground and the same distance from the aiming point. One thing was missed though: This runway is not at sea level; it’s 5896 feet above sea level. This gives a true airspeed that is going to be faster than the true airspeed experienced down at sea level. How much faster?
A good rule of thumb is to increase IAS by two percent for each 1000 feet of altitude to obtain true airspeed. In this case, we’ll round up to 6000 feet, for a 12-percent increase in TAS. Multiplying 60 by 1.12 produces 67.2 KTAS. That’s how fast we’re really flying through the air at 6000 feet. Presuming a no-wind situation, our hero now is covering more than a nautical mile per minute, even though the airspeed indicator and the vertical speed indicator both “say” the approach is being flown as if at sea level.
Since the aircraft is moving across the ground at a faster speed, even though the descent rate is the same, more distance will be covered during the approach. If the triangle is to work out then the approach must be started further away from the aiming point, the descent rate increased—or both—before our hero pilot can be delivered to the runway after the stabilized approach he wants to fly.
Wind’s Effect
We never fly in a no-wind situation, so what do we do to compensate for it? When I ask that question of pilots, the usual answer is they adjust the length of the final approach. How much do you adjust? I usually get a shrug of the shoulders at that point. So we are right back to making this up as we go. What if we fly to the same point indicated by the math, but adjust the altitude above that point to compensate for wind?
The wind’s effects change our groundspeed. On final approach, we are either moving faster or slower than normal toward the landing zone. If we descend at the same rate as always, the time required is unchanged, but the distance covered will differ. When the wind is different than what we’ve practiced, our best option is to go to the same determined spot but adjust altitude above it to either shorten the time we spend on the approach (less wind/higher groundspeed) or lengthen it (more wind/lower groundspeed).
No matter how well we fly the desired numbers, if the approach is begun at the wrong place or at a different altitude, or if the proper descent rate isn’t maintained, the pilot will have to modify the target numbers on the fly to deliver what they promise—a constant-angle descent to the desired point on the runway.
Years ago, not only did I have to worry about airspeed issues, but also optical illusions. It was not uncommon to land on a short, flat runway in the middle of a sea-level swamp and then next land on a runway at 6000 feet msl featuring a 17-percent slope. I learned that when runways provide few options for a go-around or landing long, a precise approach is a must. I knew I could fly a precise airspeed and descent rate, but where to begin the approach was proving difficult. I learned that keeping the airspeed and descent rate the same while varying my starting point’s position and altitude worked well. It can work for you, too.
Glenn Grubb has flown Helio Couriers and Pilatus Porters in Indonesia with JAARS, and has some 6000 hours. He’s earned COM/INST/A&P tickets and is deputy director of international aviation safety for JAARS Inc., in Waxhaw, N.C.


