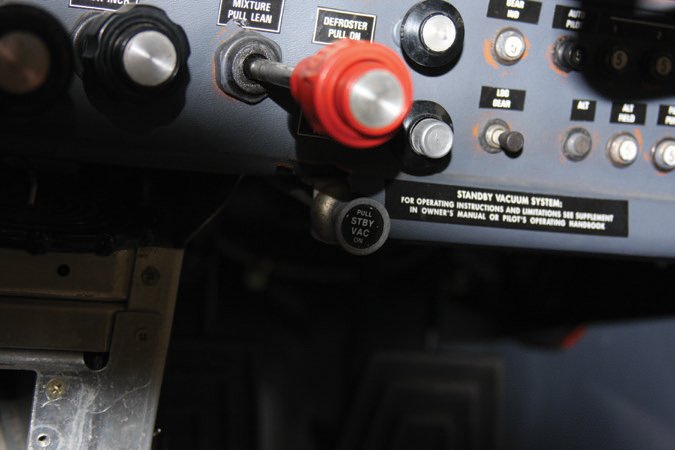
When discussing preflight inspections, I sometimes hear pilots remark, “I don’t know what I am looking for.” That’s unfortunate, because the pilot is the final authority regarding the aircraft’s airworthiness. As a pilot, you have the responsibility to accept the aircraft as-is and be on your merry way or reject it as unsuitable if something isn’t right. Since it’s up to you to determine if something isn’t right, you probably should at least know a few things to look for.
What does a component’s normal condition look like, and what typically goes wrong with it? If your maintenance technician isn’t available to ask, consult the airplane’s POH, and don’t forget to look in the supplement section. In fact, you rarely can go wrong with the manufacturer’s preflight checklist. One of those times, however, is after maintenance has been performed. If that’s the case, a more detailed preflight inspection is warranted. The place to start is determining what kind of maintenance has been performed, and you do that by reviewing the aircraft maintenance records. That’s because aircraft just out of maintenance are more likely to have safety-of-flight issues than an aircraft in good condition flown on a daily basis. The extent to which an airplane coming out of maintenance will have an issue is proportional to the complexity of the work performed. Something as simple as adding air to a tire isn’t likely to cause a problem, but complex work—and work on several systems at a time—creates too many opportunities for mischief for us to ignore.
The Annual Inspection
The annual inspection is the most intrusive “maintenance” a personal airplane regularly sees. Presuming no new equipment is installed and the inspection doesn’t reveal specific maintenance is needed, it’s the most common reason a pilot needs to take some extra care during the preflight. Since we want to focus on the items inspected, we can start with FAR 43 Appendix D, which provides the minimum requirements. A condition inspection for experimental amateur-built aircraft will most likely be conducted in the same scope and detail as an annual on a type certificated aircraft.
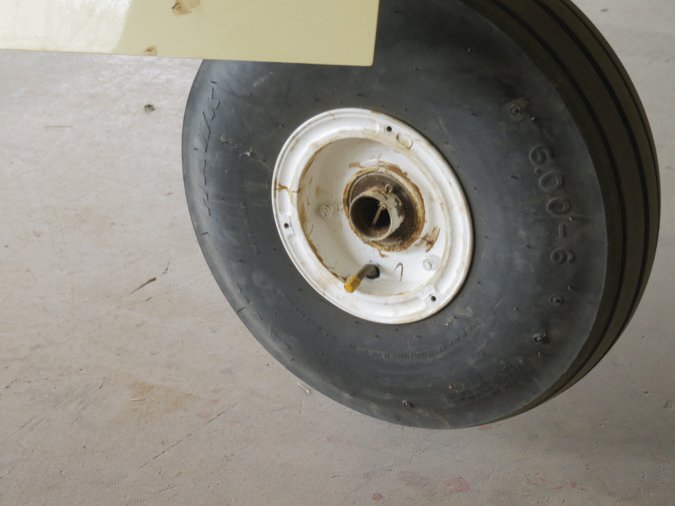
Reviewing Appendix D will give you a place to start learning what was disassembled and re-assembled, what was turned off and what may have been removed to gain access. Normal procedures call for shutting off the fuel valves, opening retractable landing gear circuit breakers, removing and replacing seats and, of course, inspection panels are removed and replaced. It’s likely wheel fairings and wheels were removed and reinstalled and brake components detached and reattached. Retractable gear aircraft may have had landing gear doors disconnected or removed, with jack pads, gear pins and tail stands used on some aircraft.
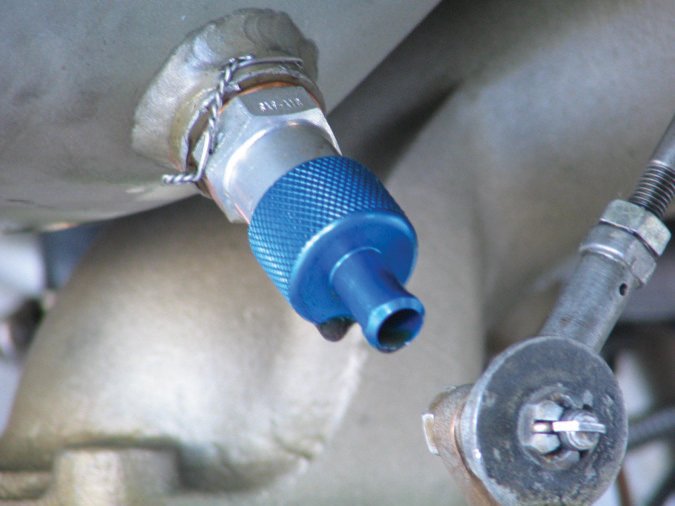
Powerplant inspection usually involves draining or removing and replacing the engine oil and filter, disconnecting the magneto P leads (renders the magnetos hot) or switching the ignition switch to Both (both magneto P leads ungrounded or hot). Propeller inspection most likely requires removal of the spinner and possibly the propeller itself.
Maintenance
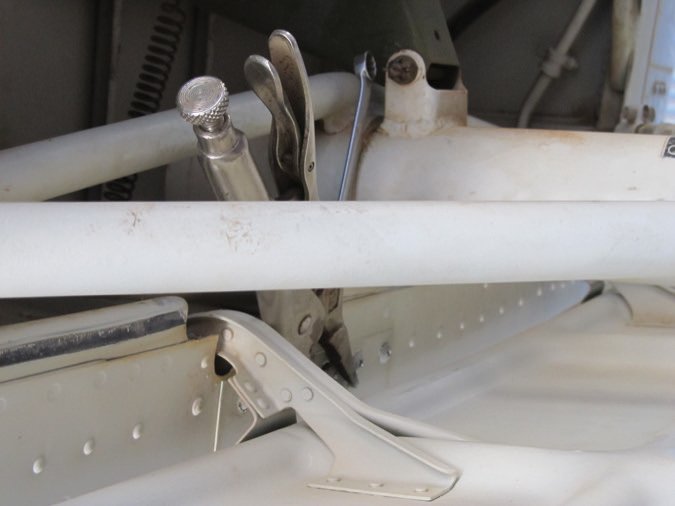
When an airplane is in the shop for its annual inspection, it’s tempting to do other work—maintenance—while it’s opened up and on jacks. This makes it all the more important that the maintenance records be reviewed before considering flight. It goes without saying that all maintenance performed must be identified in the records, accompanied by a statement returning the aircraft to service.
Work performed concurrent with the annual inspection may include flight control system adjustments and involve removing and replacing control cables, mechanisms or surfaces. Any time work is performed on the control system, there’s the risk the controls got reversed. You must verify all flight controls operate correctly, which may require two people.
If the fuel system was worked on—fuel lines, fuel tanks and bladders, or fuel quantity sender units—you need to check what’s in the tanks. Is it the correct fuel? Is there enough of it? Don’t assume that because both tanks were full when you dropped off the airplane a month ago for its annual that the fuel is still there.
Hydraulic systems—aircraft brakes—may have been bled incorrectly, resulting in just enough pressure to taxi and take off, but not enough to stop. If any brake work was done, ensure the reservoir is filled with the proper fluid. The electrical system is another thing to check. Sometimes an alternator circuit breaker may be tripped or the overvoltage circuit tested during inspection or maintenance and left in the “off” or tripped position. Comparing the ammeter to its normal value will help verify there’s nothing wrong with the alternator before and after takeoff.
Typically, seats are removed and seat belts and harnesses at least partially detached as part of the inspection process. Many vintage Cessnas have a locking mechanism as part of the seat adjustment and a secondary mechanical lock to prevent the seat from moving aft on takeoff. Regardless of the aircraft type, make certain the front seats are properly installed and locked into position prior to engine start.
In The Cockpit
Even after your walkaround, many items remain to be checked, visually, by feel and even by ear. Prior to engine start, operate the flight controls to verify they operate correctly direction without binding or roughness. Listen for odd noises throughout full travel of the controls. Elevator trim should be on your normal checklist, but don’t forget to check it. If you have electric trim, consult your POH to do a functional check.
Run-up
After the engine is running, your normal procedures likely will be sufficient, though you want to pay extra attention. The first thing to check after the engine starts is oil pressure. Most manufacturers say you should notice an increase in oil pressure within seconds and up to normal pressure after no more than 30 seconds in cold weather or after an oil change. Be prepared to shut the engine down and never start taxiing until oil pressure is verified as satisfactory. Also before moving, check that the ammeter shows positive charging. Now’s also a good time to check the flight instruments, set the directional gyro and verify the vacuum system, if any, is operating correctly. Don’t wait until the run-up pad; do it now so you have a chance to catch problems before takeoff.
During the run-up, pay particular attention to verify there’s an rpm drop when checking individual magnetos. If there’s no rpm drop, it may indicate one or both magnetos have broken or disconnected P-leads. Reduce rpm to idle and momentarily turn off the mags. If the engine doesn’t try to quit when the mags are shut off, maintenance is required.
Some say constant-speed propellers should be exercised several times before the first flight of the day. Others maintain that repeated cycling isn’t necessary, and one is enough to get fresh, warm oil into the hub. Regardless, the idea is to verify the propeller responds to pitch change commands and returns promptly to the original high rpm position.
Use the full length of the longest available runway for your takeoff. Early in the takeoff roll, check the airspeed and pay attention to control pressures and directional control. Remember that you may have to abort your takeoff, and know where to point the airplane if you run out of runway.
After takeoff in a retractable, pay attention when the gear is retracted. The cycle time should not be excessive, all the green lights should go out and a red one illuminate. The actuating system—electrical, hydraulic or Armstrong—should not be excessively taxed. When dropping the gear before landing, do the same thing. During both retraction and extension, listen for unusual noises. Make a note of all discrepancies and attempt to record the time it takes for the landing gear to retract or extend.
Once airborne and at a comfortable altitude, you may want to check the aircraft altimeter and airspeed against the GPS-computed altitude and groundspeed. You’ll get a reasonable indication of whether the pitot/static system and related instruments are working.
Test Pilot
Where your first flight takes you and what conditions are acceptable should depend on what work was performed. If the only work performed was something like inflating a strut or changing a landing light, launching on a cross-country isn’t an unacceptable risk. Ideally, an oil change should be followed by a short flight before you load in the spouse and kids. For almost anything else, you should have some kind of plan, tailored to reflect the extent of maintenance performed. Things do go wrong that may lead to problems not envisioned.
It would not be wise to plan an IFR night flight in stormy weather with an airplane just out of an annual inspection or maintenance. It may be legal, but you wouldn’t get many pilots to agree that it would be a smart idea. Give some real thought to making the first flight after an annual or maintenance when the weather is good.
When thinking of a test flight, pilots often think it means a full set of maneuvers testing the plane and components to their limits: pull some Gs in steep turns, power-on stalls and maybe even a spin. That would be overkill. Wringing out an airplane like that is not necessary unless the paperwork for the modification performed requires certain maneuvers to be performed. A test flight is nothing more than verifying that the work performed did not alter the flight characteristics during normal operation of the aircraft.
Final Approach
When prepping to fly an airplane just out of the shop, you need to take some extra time and care. Place a special emphasis on items you might not check on a daily preflight—the landing gear circuit or autopilot breakers, light switches, intercom volume, nav/comm settings, even the magnetic compass. Always have a plan, follow a checklist, give yourself plenty of time and make the first flight after maintenance on a good VFR day.
Once you’re back on the ground, perform a walk-around inspection to be sure that there are no obvious discrepancies such as oil, fuel or hydraulic leaks. The next time you need your airplane, it’ll be ready.
What Do The Regs Say?
The FARs often have a lot of insight into what’s smart and what’s not. They often inject some common sense into many decisions and operations, and post-maintenance test flights are no exception. That said, the FAA never really defines “flight test,” beyond the meaning associated with those flights conducted before an aircraft type is certificated or before an experimental category aircraft completes its Phase 1 flights.
Whenever we’re conducting a flight test, however, we need a place to do it. The reason is in FAR 91.305, Flight Test Areas:
– No person may flight test an aircraft except over open water, or sparsely populated areas, having light air traffic.
Additional guidance is in FAR 91.407, Operation After Maintenance, Preventive Maintenance, Rebuilding, Or Alteration:
(a) No person may operate any aircraft that has undergone maintenance, preventive maintenance, rebuilding, or alteration unless –
(1) It has been approved for return to service by a person authorized under 43.7 of this chapter; and
(2) The maintenance record entry required by 43.9 or 43.11, as applicable, of this chapter has been made.
(b) No person may carry any person (other than crewmembers) in an aircraft that has been maintained, rebuilt, or altered in a manner that may have appreciably changed its flight characteristics or substantially affected its operation in flight until an appropriately rated pilot with at least a private pilot certificate flies the aircraft, makes an operational check of the maintenance performed or alteration made, and logs the flight in the aircraft records.
(c) The aircraft does not have to be flown as required by paragraph (b) of this section if, prior to flight, ground tests, inspection, or both show conclusively that the maintenance, preventive maintenance, rebuilding, or alteration has not appreciably changed the flight characteristics or substantially affected the flight operation of the aircraft.
So, what does all this mean? In most cases an official test flight won’t be required unless a modification or alteration is a “one-of-a-kind” situation not previously tested or there are multiple modifications or alterations combined and applied to a flight control or flight control system that have not been previously tested.
Modifications or alterations that are done according to a Supplemental Type Certificate, or possibly a manufacturer’s service bulletin, may specify that a test flight is required. You should discuss this with maintenance personnel prior to flight and ensure any logbook entry made is satisfactory if the test was required and completed with no abnormal characteristics noted.
Does a private pilot have to go test-fly his flivver after changing its oil before carrying passengers? It’s not a bad idea, but the FARs don’t require a test flight after an oil change, since it hasn’t “appreciably changed the flight characteristics or substantially affected the flight operation of the aircraft.”
Mike Berry is a 17,000-hour airline transport pilot, is type rated in the B727 and B757, and holds an A&P ticket with inspection authorization.


